Installing neon lights can be a great way to add a pop of color and personality to your space. Here are the steps to follow for a successful installation:
1. Plan your design: Before you start installing neon lights, it’s important to plan out your design. Decide where you want to place the lights and how you want them to look. You can sketch out your design on paper or use a digital design tool.
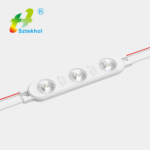
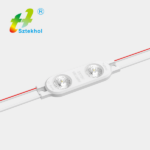
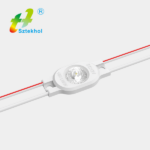
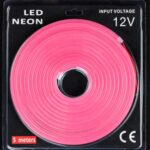
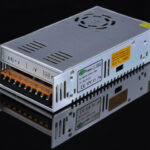
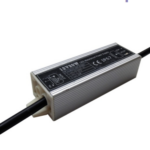
2. Gather your supplies: To install neon lights, you’ll need a few supplies, including neon lights, a power supply, mounting clips, and wire connectors. Make sure you have everything you need before you start.
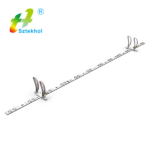
3. Mount the clips: Once you have your design in mind, use mounting clips to attach the neon lights to your wall or surface. Make sure the clips are securely fastened and spaced evenly apart.
4. Connect the wires: Next, connect the wires from the neon lights to the power supply. Be sure to follow the manufacturer’s instructions for proper wiring.
5. Test the lights: Before you fully secure the neon lights, test them to make sure they’re working properly. If everything looks good, you can finish securing the lights in place.
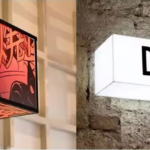
6. Enjoy your new neon lights: Once your neon lights are installed, turn them on and enjoy the colorful glow they add to your space.
Keep in mind that neon lights require careful handling and installation, so it’s important to follow all safety precautions and manufacturer’s instructions. If you’re unsure about any part of the installation process, it’s best to consult a professional.