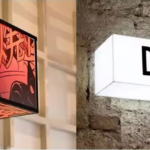
Mini neon signs are a great way to add a personalized touch to any space. These mini signs are typically made from flexible neon silica gel, which is bent into the desired shape and attached to a backing board for support. Because of their small size, they can be used in a variety of spaces, including bedrooms, nurseries, home offices, and more. In this article, we will explore how you can create your very own mini neon sign that is customized to your liking or directly inquire about ordering matters through email on our website
- Choose Your Design
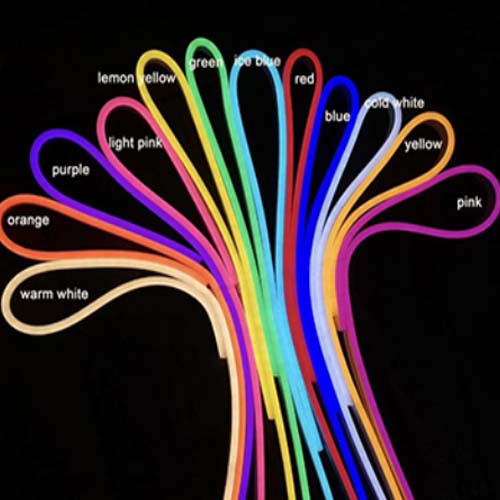
The first step in creating a custom mini neon sign is to decide on the design that you want to use. This can be anything from a single word, to a symbol or even a simple shape. Take time to consider what message you want your sign to convey, and what colors you want to use in your design. You can experiment with different fonts and shapes until you find the perfect design for your mini neon sign.
- Prepare the Materials
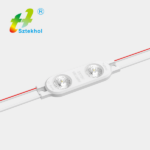
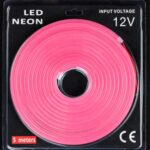
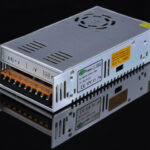
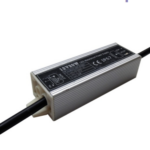
Once you have settled on a design, you will need to gather the materials necessary to create your mini neon sign. You will need a length of neon tubing, a backing board, adhesive backing or mounting clips, and a power supply. You can find all of these materials at your local craft store or online.
- Bend the Neon Tubing
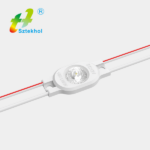
Next, you will need to bend the neon tubing to match the design that you have chosen. This can be done using a pair of pliers, a heat gun, or a special bending tool. Take your time when bending the tubing to ensure that it matches the design that you have chosen.
- Mount the Neon Tubing
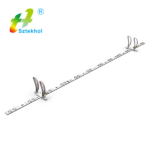
Once the tubing is bent into the desired shape, you can mount it onto the backing board using either adhesive backing or mounting clips. Be sure to follow the manufacturer’s instructions when using adhesive backing, and to ensure that the tubing is securely attached to the board.
- Connect the Power Supply
Finally, you will need to connect your mini neon sign to a power supply. This can be done using a battery pack or by plugging the sign into a standard electrical outlet. Once the sign is connected to the power supply, it should light up, allowing you to enjoy your custom mini neon sign.
In conclusion, creating a custom mini neon sign is a fun and creative way to add personality and style to any space. With a little bit of creativity and some basic supplies, you can create a sign that is uniquely your own, and that will serve as a conversation piece for years to come. Whether you want to add a splash of color to your bedroom, or create a unique piece of art for your home office, a custom mini neon sign is the perfect solution.